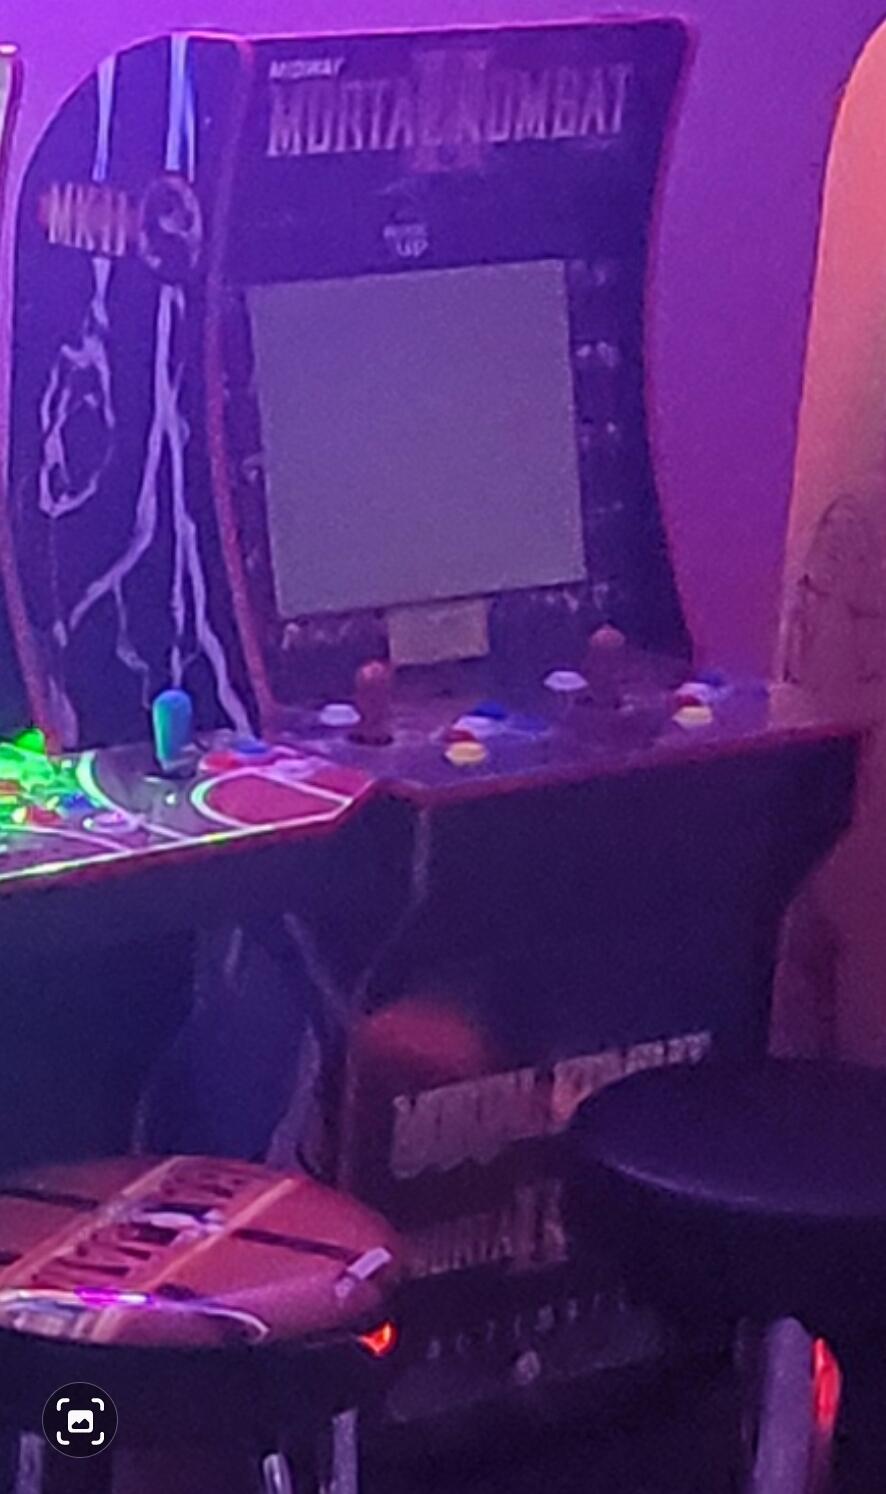
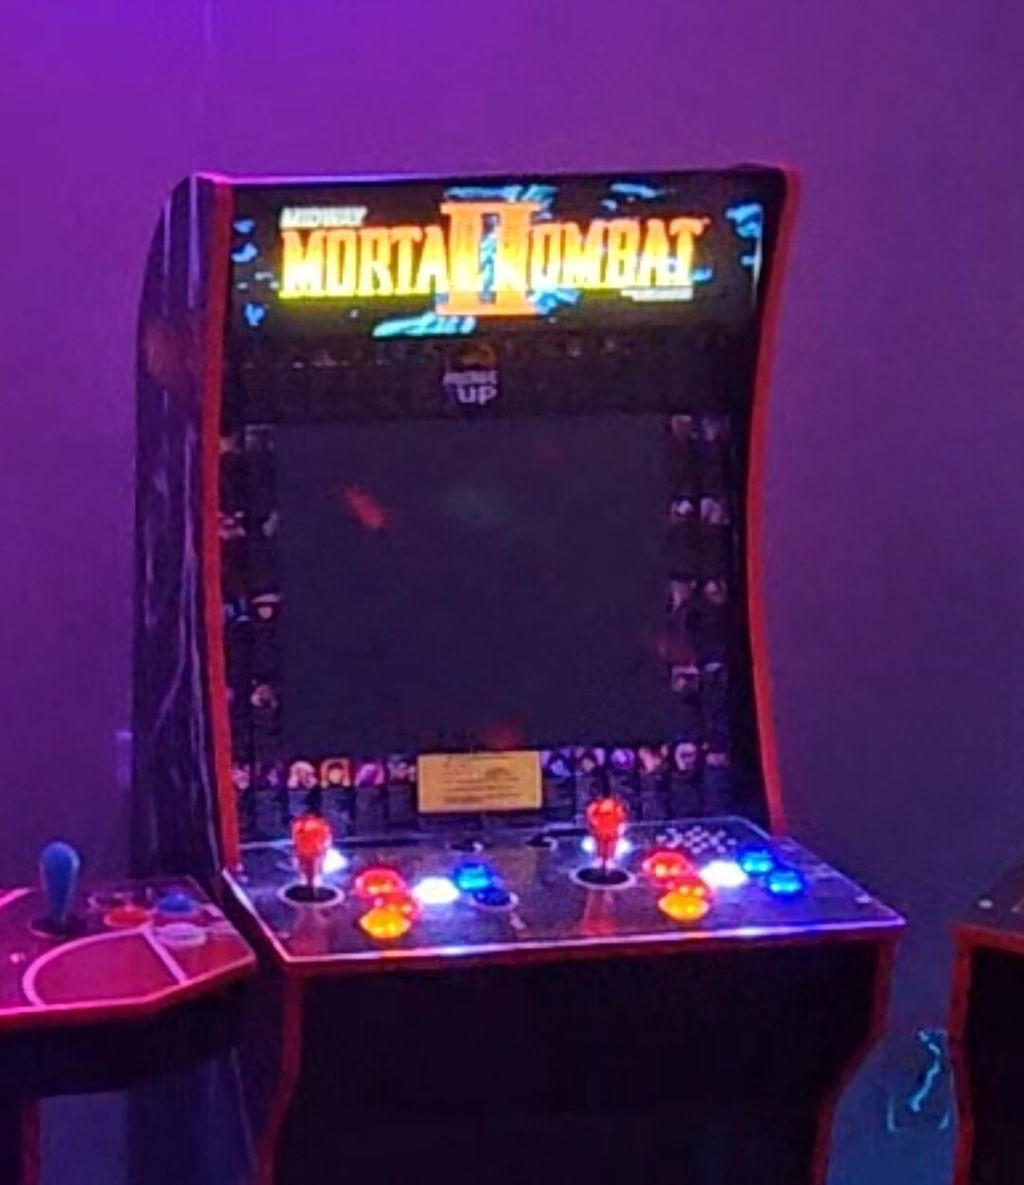
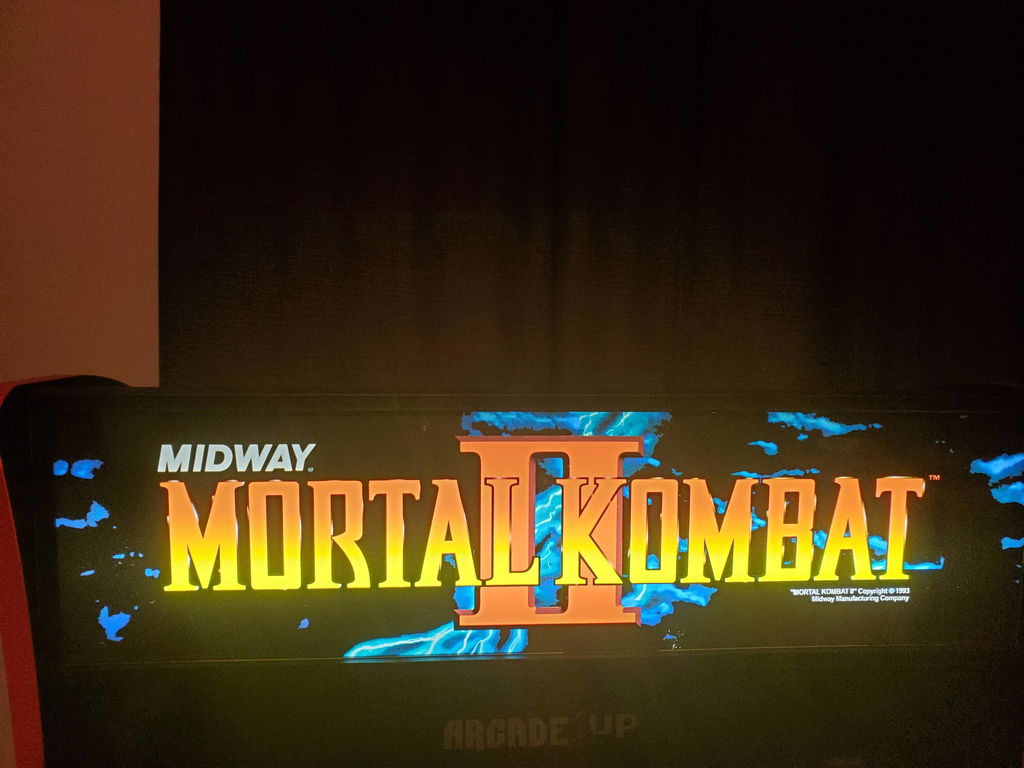
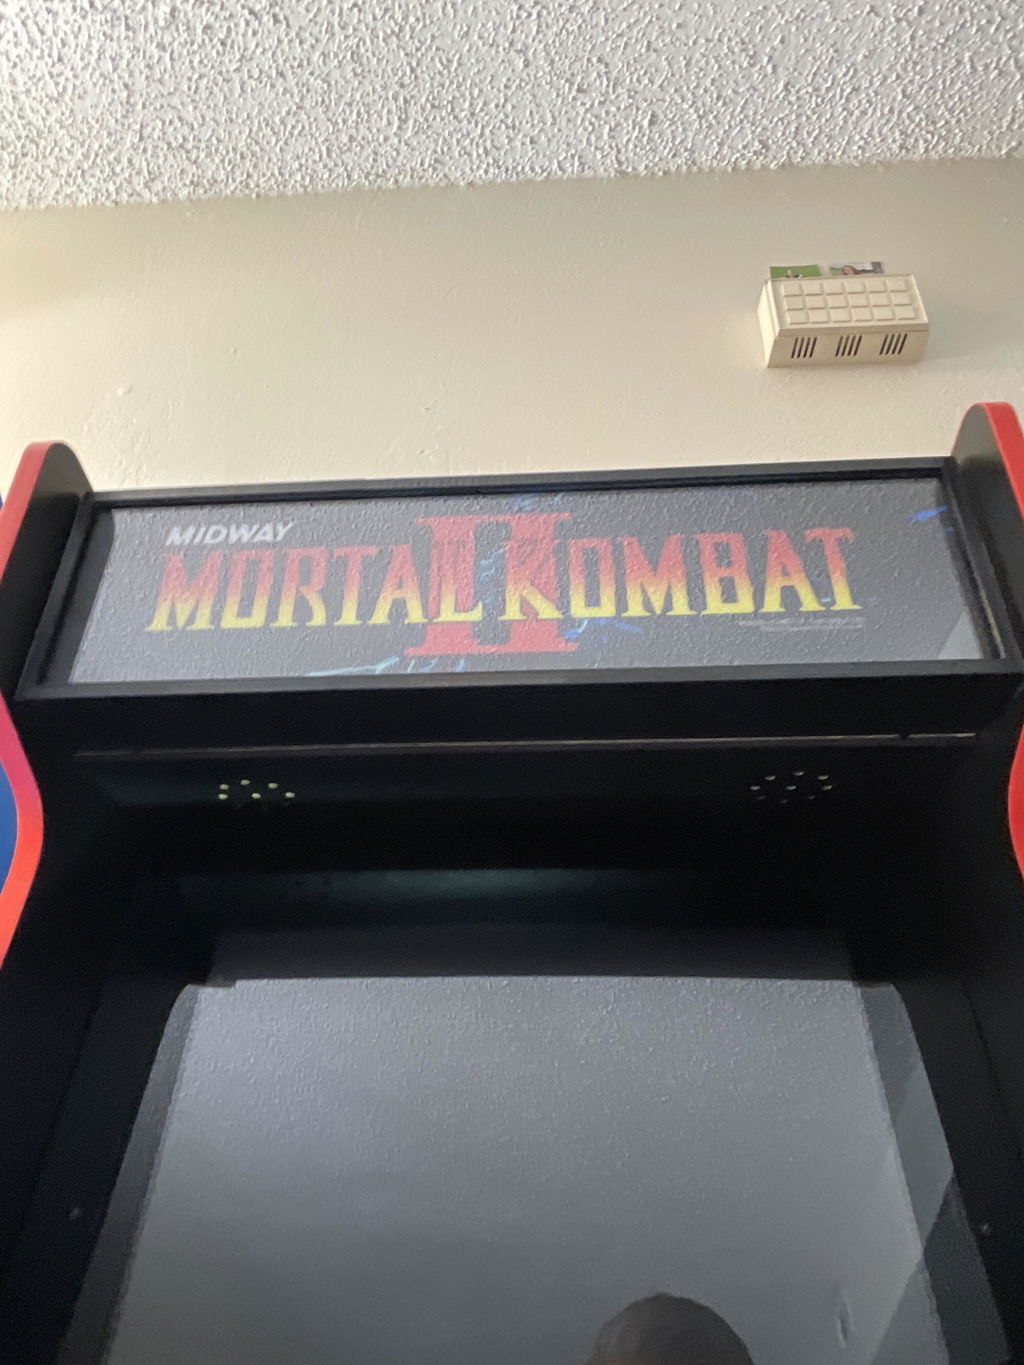
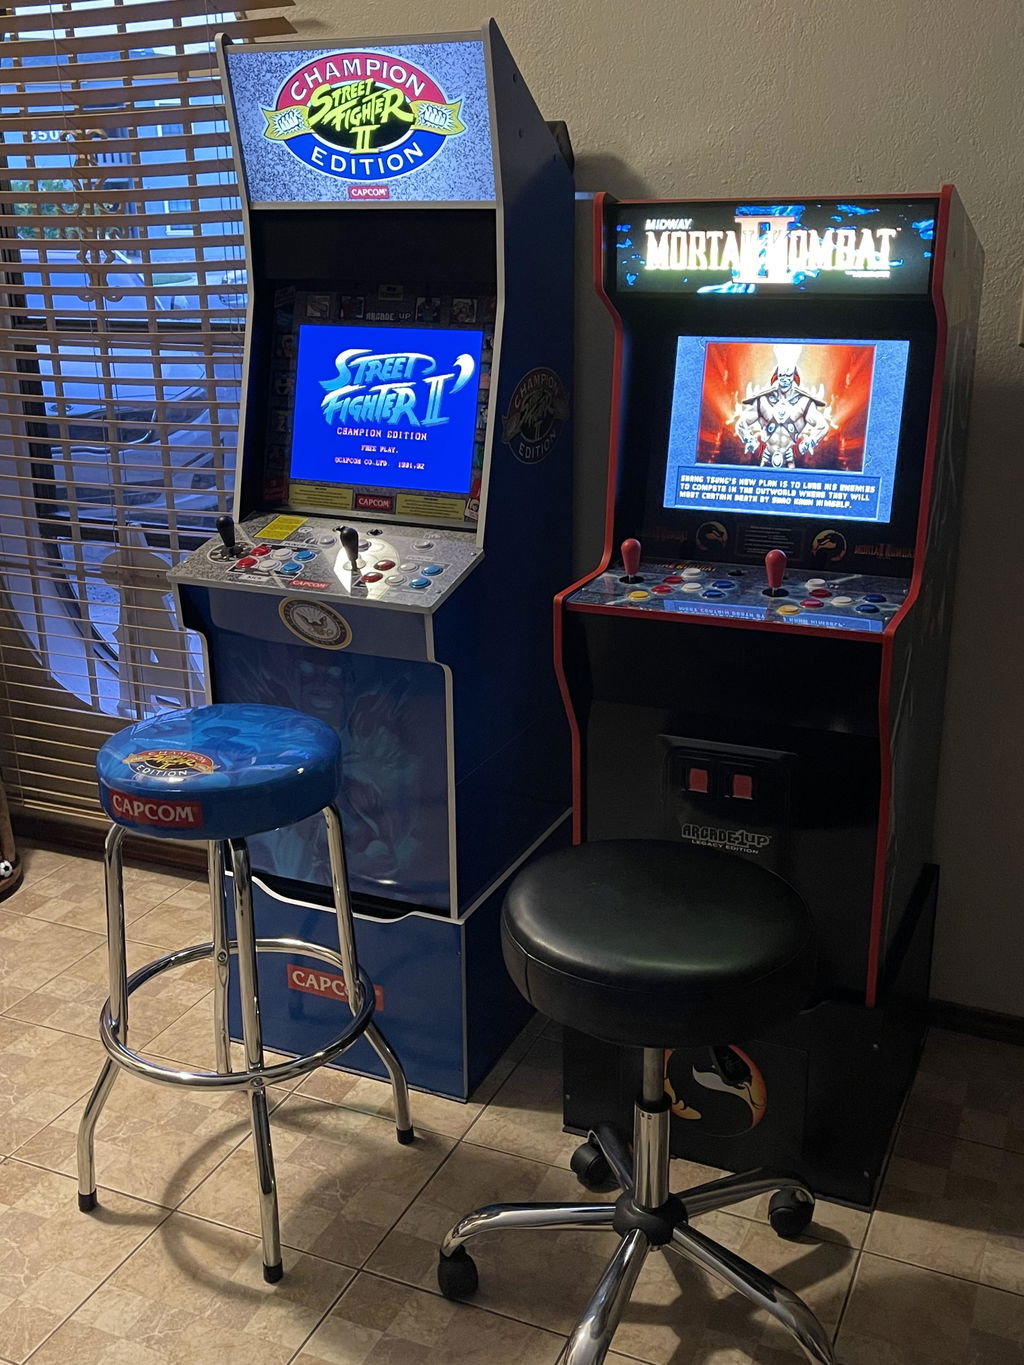
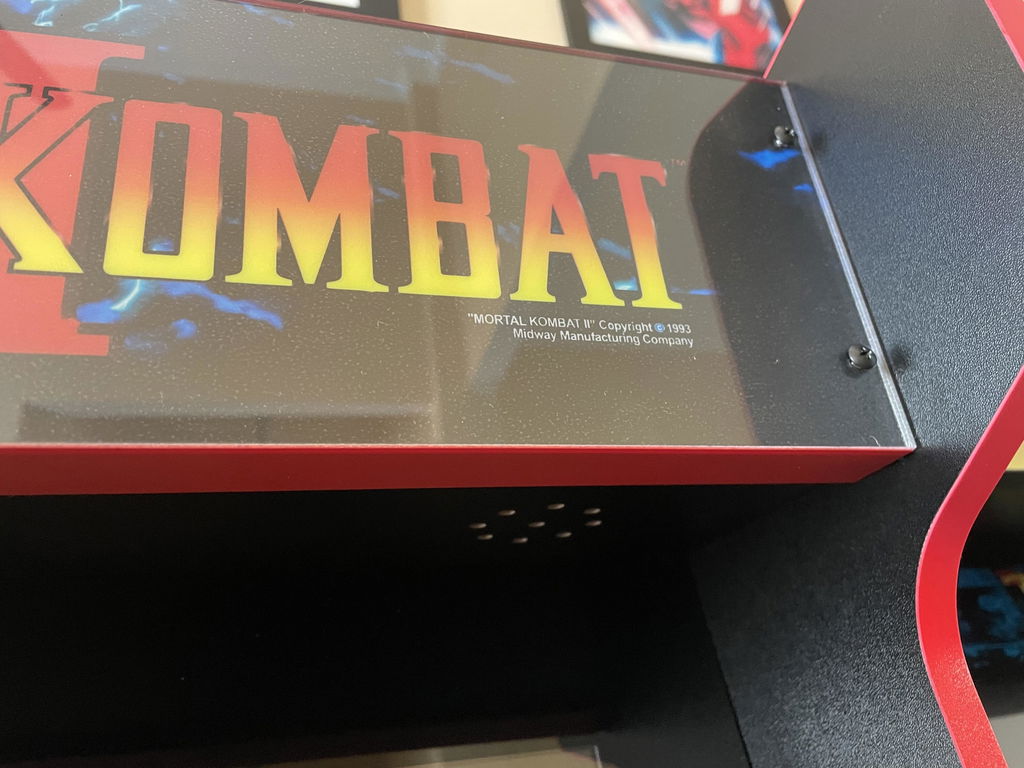
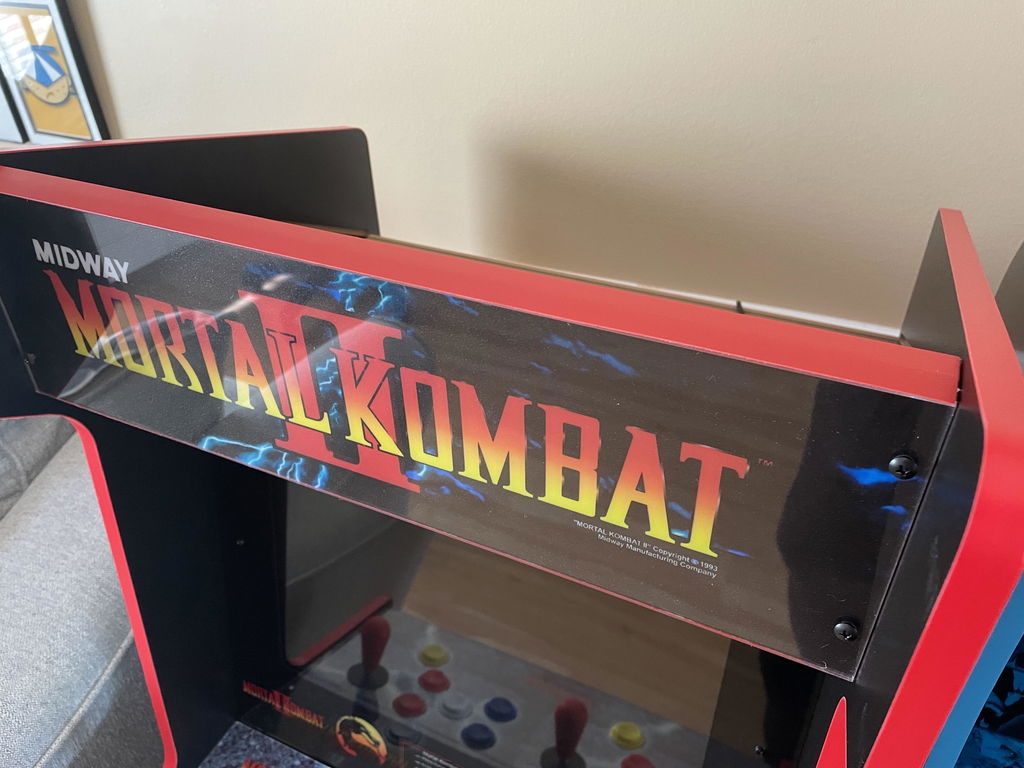
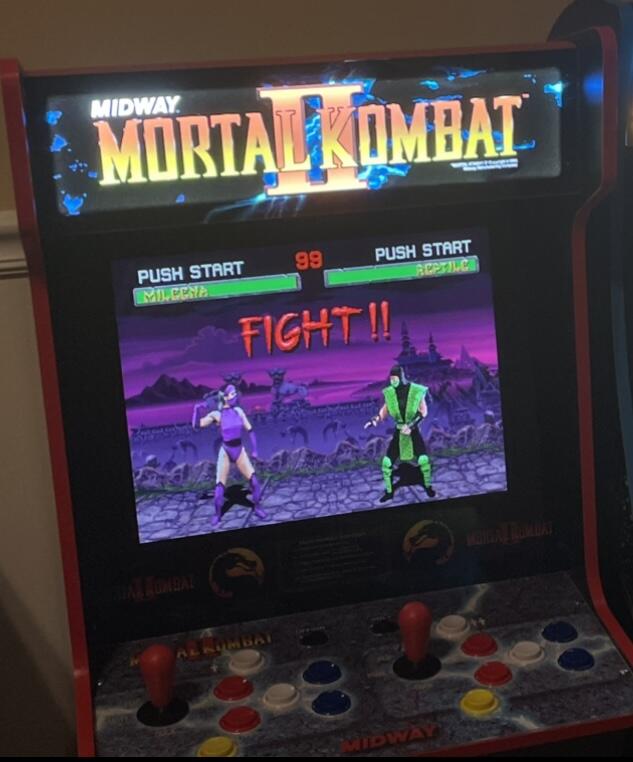
Drop In Mortal Kombat II LED Marquee Plug and Play Kit for Arcade1Up Version 2
Original price
$89.99
-
Original price
$89.99
Original price
$89.99
$89.99
-
$89.99
Current price
$89.99
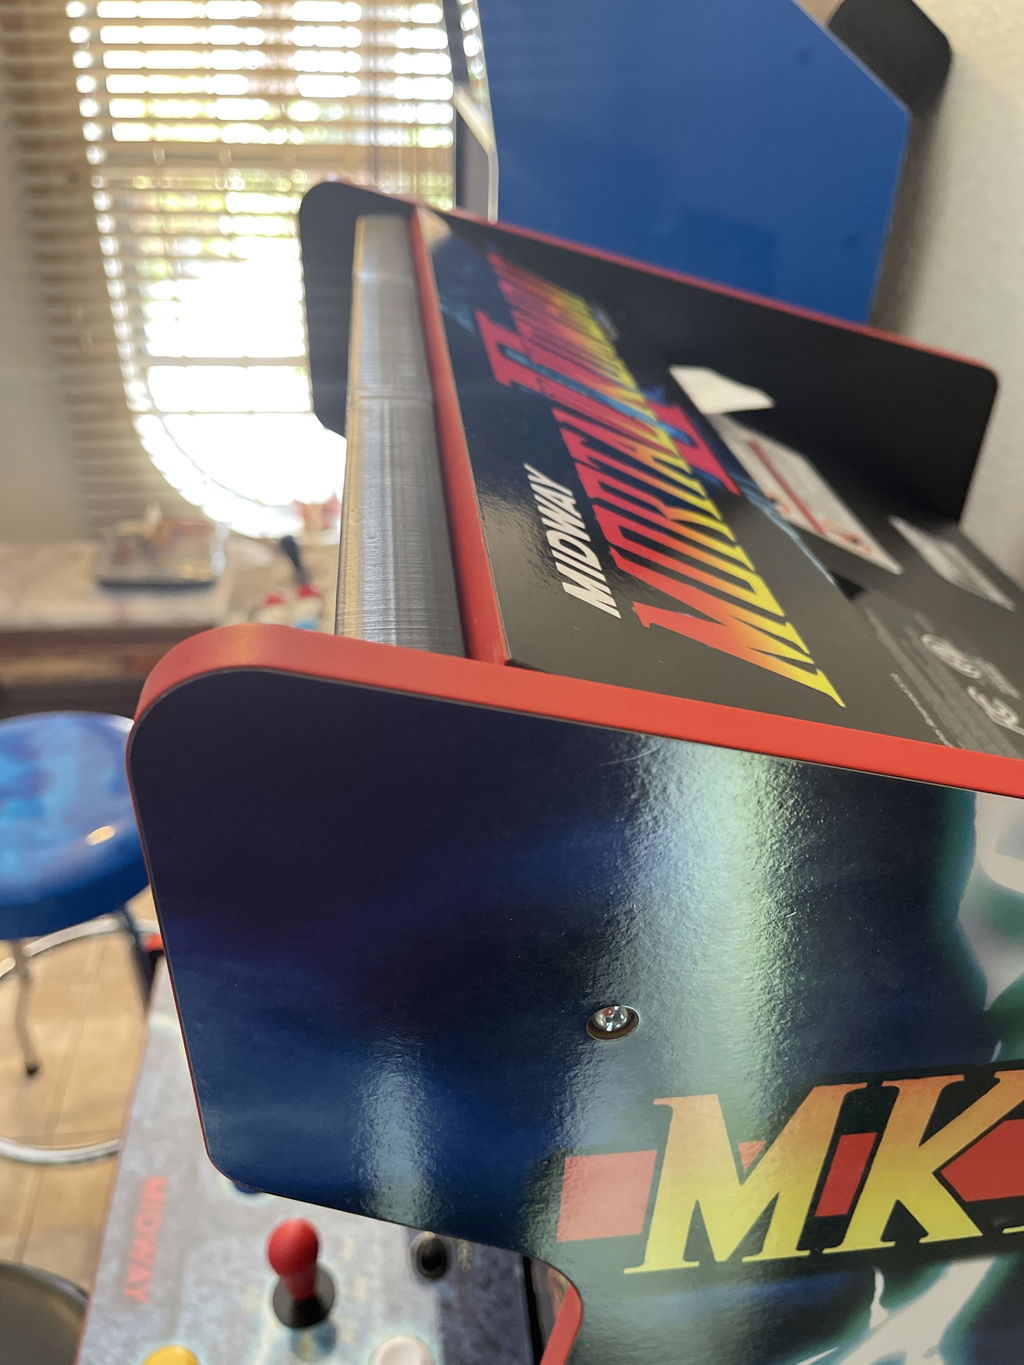
- Arcade1Up LED Marquee
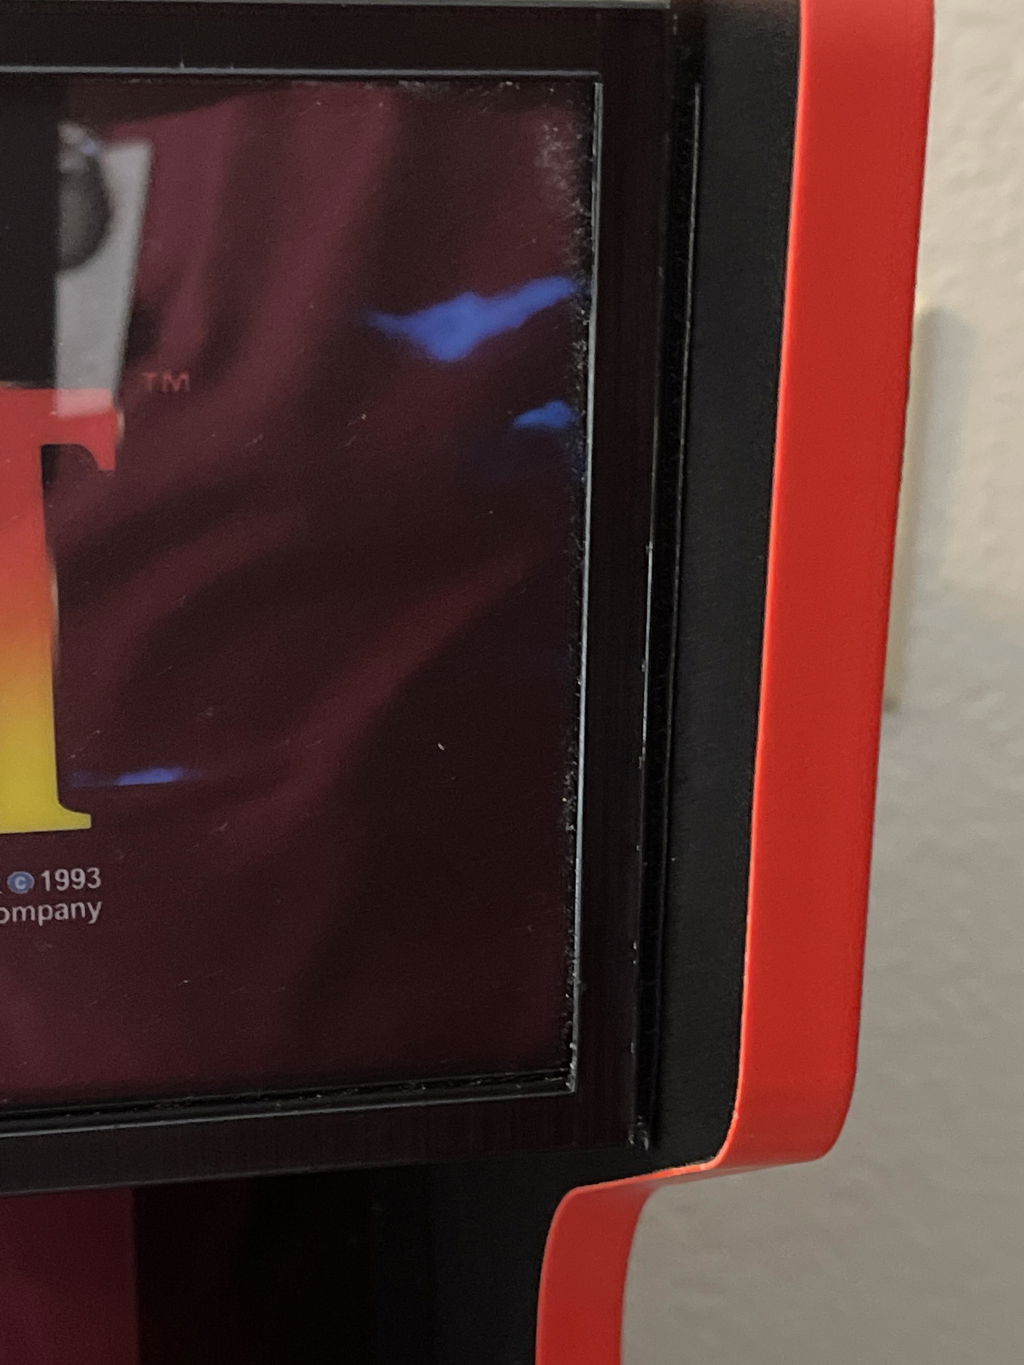
- No Light Leaks
- 6000 Cool White LED Strip
- Printed On Professional Quality Eco Solvent Backlit Film
- Ship Time Is 2-4 Days Due To Dry Time Of The Backlit File.
- Tested on Wave1/2/3 Cabaret & Legacy Machines.
- Direct Replacement of the Factory Arcade1Up Marque. Plug and Play.
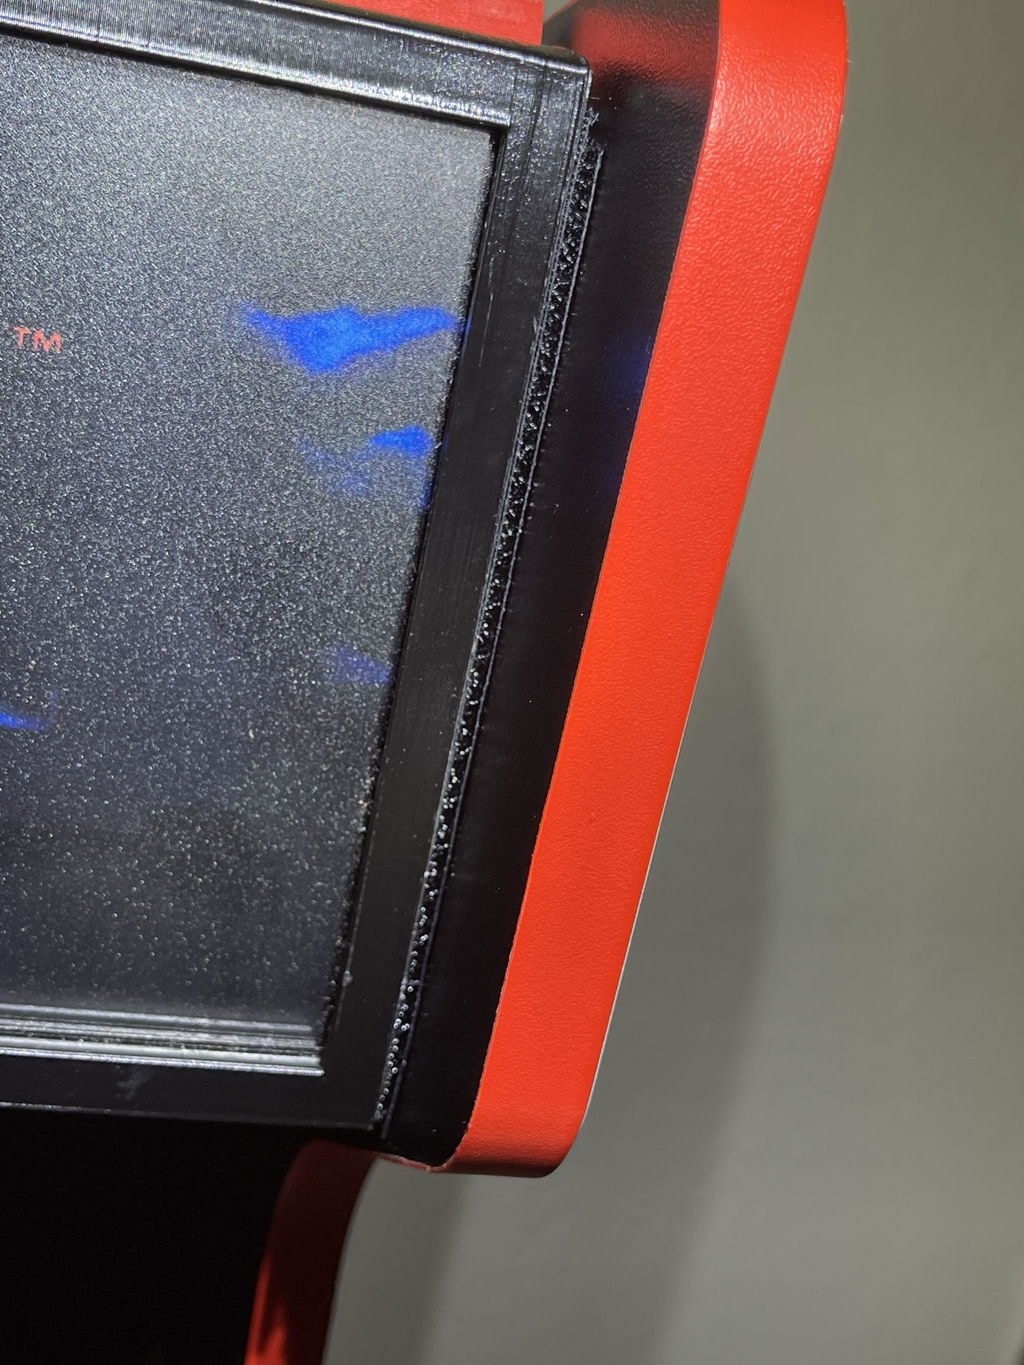
- Outer Frame is 3d Printed.***
Items Included
1 x drop in fully assembled marquee ready to install
2 x bolts to attach to machine
1 x Power Switch Hack (See details)
***Understand that 3d printing does not produce a perfect item. You will have print lines and seam lines. The area of the frame that is not visible is not finished. The part that is visible is sanded and we fill the seams the best we can. The plexi and the actual marquee is what is 95% of the view and it will be absolutely perfect.
Video Showcase
1. Install the Arcade1Up Power Switch Hack <CLICK HERE>
2. Plug the included extension into the back of the marquee
3. Plug extension to the Arcade1Up Power Switch Hack splitter.
4. Enjoy.